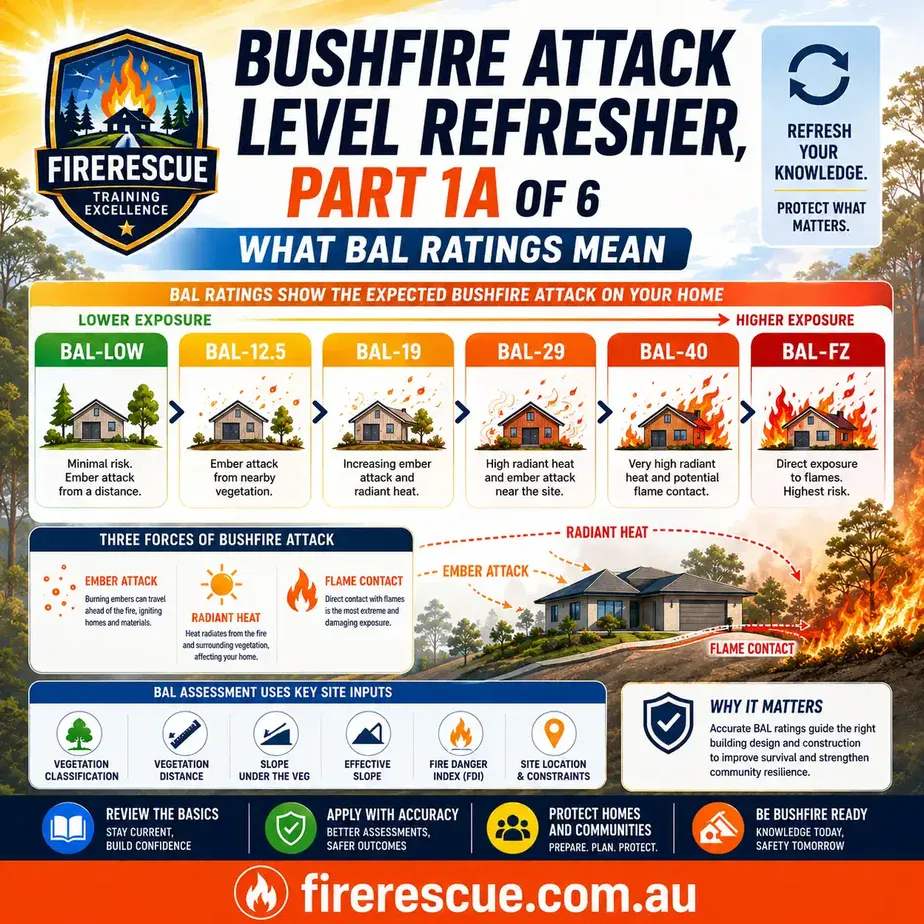
BAL Rating Guide
Quick refresher: BAL-LOW to BAL-FZ.
Part 3 of 6
Site Information for BAL Assessment: Location, Fire Danger and Constraints
Site information for BAL assessment must be gathered carefully. This lesson explains how to identify the site, consider Fire Danger Index or wind speed inputs, recognise constraints and limitations, and record information clearly for later BAL determination.
Mark each section as refreshed as you work through the article.
0% refreshed
Learning summary
Part 3 moves from bushfire attack knowledge into practical site information gathering.
Main goal
This lesson shows how to collect site information in a careful, repeatable and clearly recorded way.
Key inputs
Site location, Fire Danger Index or wind speed, access limits and other site constraints all matter.
Why it matters
If the site information is weak, later vegetation, distance, slope and BAL decisions become weak too.
Why site information matters so much
Good BAL assessment starts with good site information. Therefore, the information gathering step must be disciplined.
Site information for BAL assessment is more than a few quick notes. It is the working base for the rest of the assessment. If the site is identified poorly, or if key inputs are missed, the later assessment steps become less reliable.
For that reason, the assessor should slow down and work in order. First, confirm the site. Next, identify the relevant fire danger input. Then, note the limits of the site and any access issues. After that, record the information clearly so it can support later steps.
This lesson does not determine the final BAL. Instead, it prepares the ground for that decision. As a result, the assessor must focus on accuracy, clarity and procedure rather than speed alone.
Good site information also helps communication. When the records are clear, the assessment can be explained more easily to a site owner, supervisor or reviewer. In addition, clear records help if questions arise later.
Before measuring vegetation, distance or slope, the assessor must first make sure the site information is accurate, relevant and properly recorded.
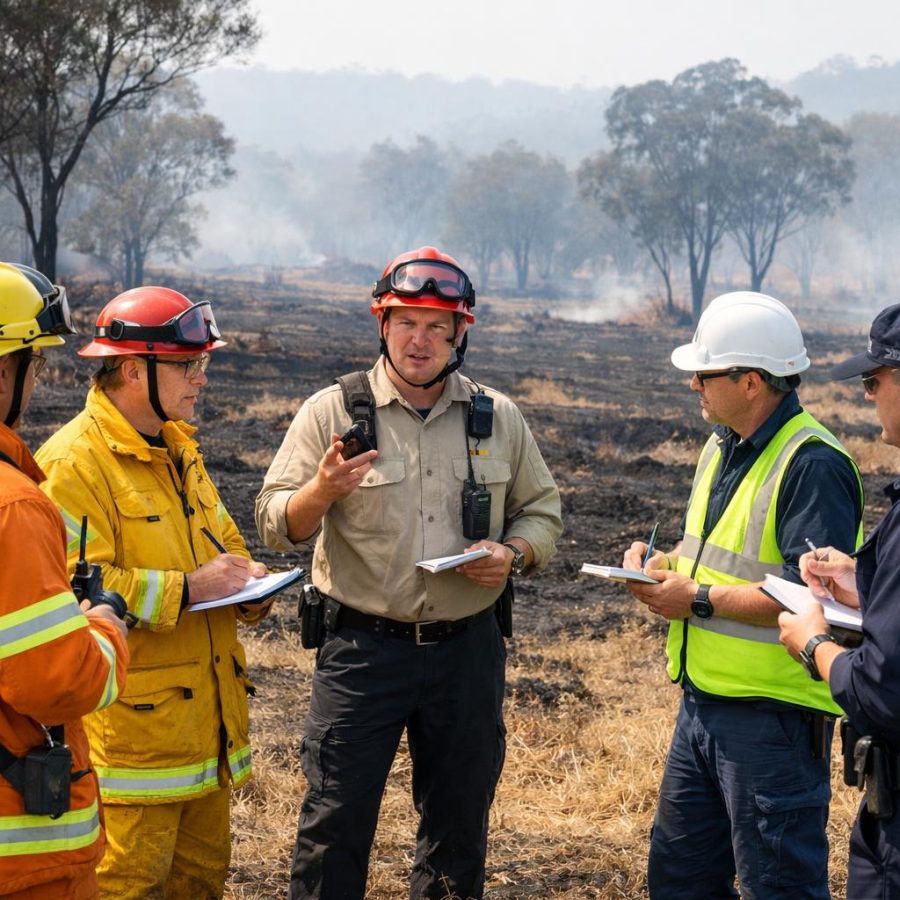
Identify the site location clearly
The site being assessed must be identified correctly. This sounds simple. However, it is a vital first step.
The PDF requires the assessor to identify the location of the site being assessed. This means the learner should not work from assumption or memory. Instead, the exact site must be confirmed using the required organisational procedure.
Location confirmation may include the site address, lot details, maps, plans, landmarks or other approved identifying details. The main aim is simple. The assessor must be certain that the site information being recorded belongs to the correct site.
In practice, the assessor should confirm the site before moving too far into the task. If the site boundary is unclear, or if plans and the physical site do not align, the issue should be noted and handled under procedure. Likewise, if the proposed building position is uncertain, that should also be recorded clearly.
Good location identification supports the rest of the assessment. It helps with vegetation review, measurement planning and reporting. It also reduces the risk of mixing one site with another.
Location check prompts
- Have the site address or official site details been confirmed?
- Is the proposed building location clearly identified?
- Do plans, maps and the physical site appear consistent?
- Are any location uncertainties recorded for follow-up?
Understand Fire Danger Index and wind speed inputs
The course requires the assessor to determine Fire Danger Index and/or wind speed for the site.
Fire danger inputs are important because they help shape the exposure context for the site. The PDF refers to Fire Danger Index, and it also notes that wind speed may be used depending on the applicable requirements. Therefore, the learner must understand which input applies and how organisational or jurisdictional rules guide its use.
At this stage, the assessor is not guessing how severe a fire might be. Instead, the assessor is identifying the relevant fire danger input required for the assessment method. This keeps the process structured and evidence-based.
Fire Danger Index may include forest fire or grassland fire danger indexes, depending on the site and the rules that apply. In some cases, organisational or jurisdiction-specific requirements may affect how these are used. That is why the standards mindset from Part 1 remains important here.
Wind speed also matters because wind can influence ember transport, fire spread and general bushfire behaviour. Even so, the learner must use the required approach rather than informal observation alone.
Use the relevant fire danger input required by the applicable method and procedure.
Recognise that wind can affect bushfire behaviour and may form part of the assessment input.
Always apply organisational and jurisdiction-specific guidance before recording the site input.
Why fire danger inputs must be recorded carefully
Small recording errors can lead to larger assessment problems later. Therefore, clarity matters from the start.
When recording Fire Danger Index or wind speed inputs, the assessor should aim for clarity and consistency. A vague note such as “high risk day” is not enough. Instead, the required input should be identified and recorded in the way the applicable procedure expects.
This is important because later steps rely on it. In Part 5, the assessor will use fire danger inputs together with vegetation, distance and slope information to determine the BAL. If one part of that chain is weak, the later conclusion becomes harder to verify.
Recording clearly also supports review. If another assessor, trainer or supervisor looks at the file later, they should be able to understand what input was used and why. As a result, the record should be brief, clear and tied to the formal process.
The assessor should also avoid overexplaining or adding unsupported comments. Keep the record accurate, relevant and within scope.
Recognise site constraints and limitations early
Not every site can be assessed in perfect conditions. Therefore, the assessor must identify and record constraints.
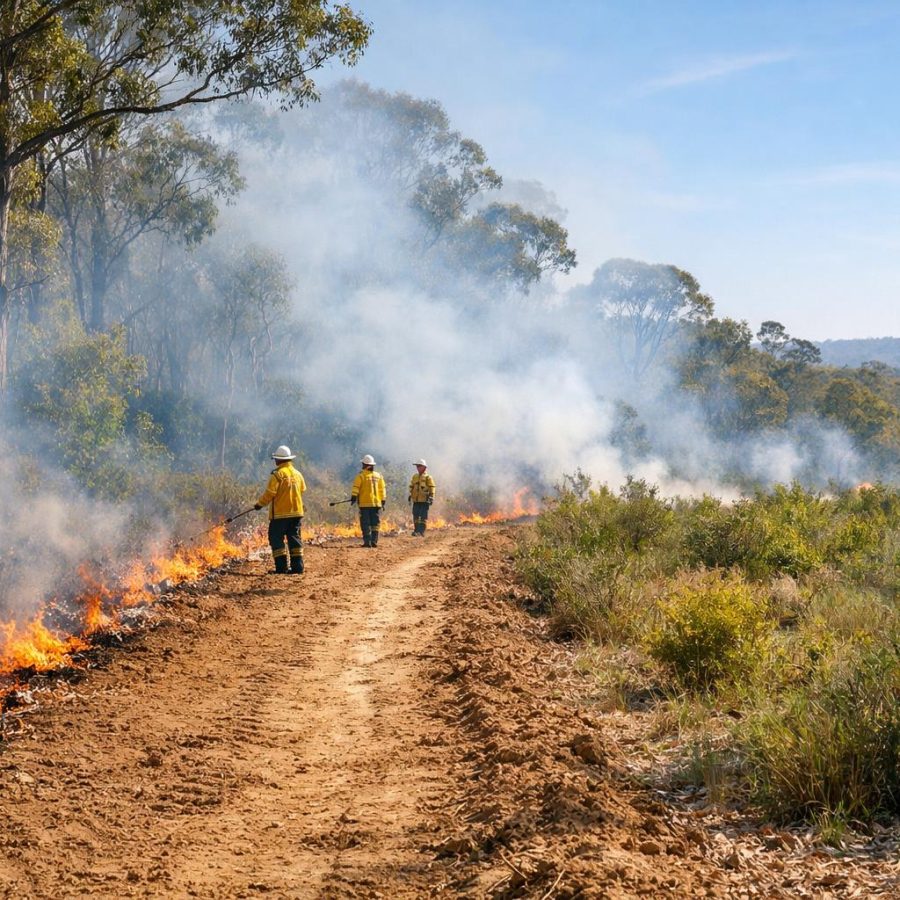
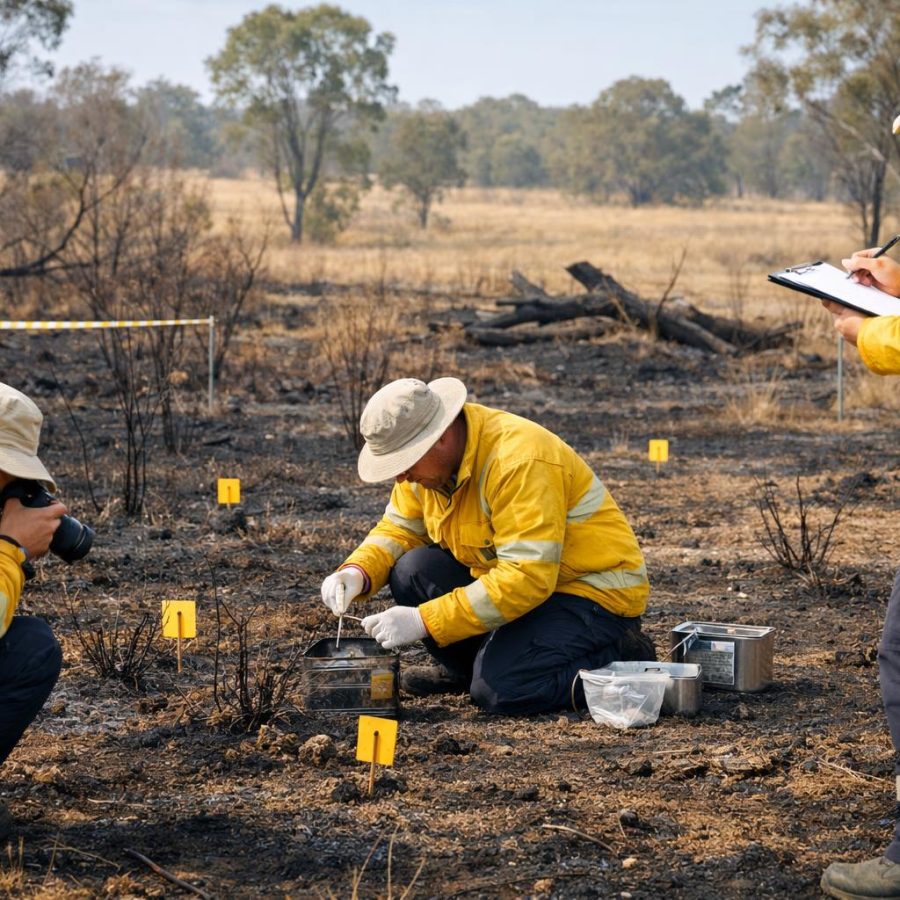
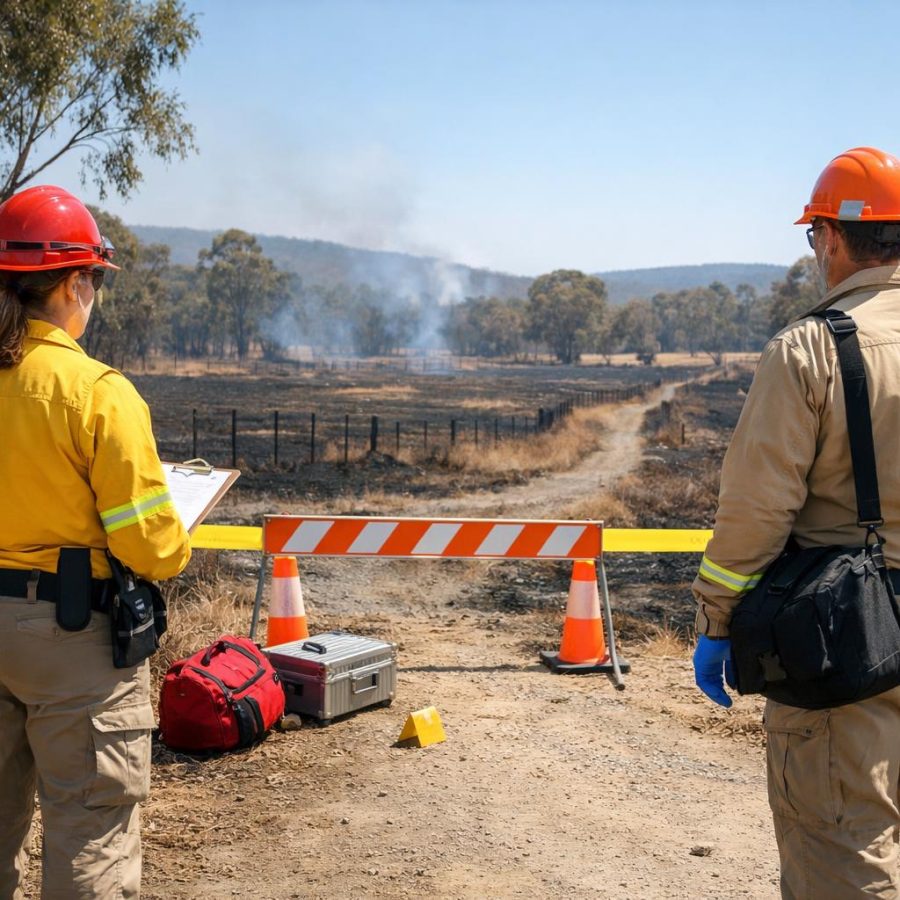
Site constraints and limitations are part of real assessment work. A site may have steep ground, poor access, heavy vegetation, blocked lines of sight, weather issues, unclear building positions or restricted entry areas. These issues do not always stop the work completely. However, they do need to be recognised and recorded.
A common mistake is to ignore these limits and keep going as if nothing is wrong. That approach weakens the assessment. Instead, the assessor should note the issue, work within safe and approved limits, and follow organisational procedures if the problem affects the quality of the information gathered.
Sometimes a limitation may only affect part of the site. In that case, the assessor should still record what was possible, note what was limited and explain the constraint clearly. In other cases, the limitation may be serious enough to pause the process until further guidance is obtained.
Good recording of constraints helps later readers understand the context of the assessment. It also shows that the assessor worked carefully rather than hiding uncertainty.
Do not force access or invent missing information when a constraint exists. Record the limit clearly and follow the required procedure.
Examples of common site constraints
It helps to think in practical terms. Therefore, this section lists common constraints that may affect site information gathering.
Common site constraints may include locked gates, unclear lot boundaries, dense vegetation, unstable ground, poor weather, livestock, nearby hazards, access restrictions, incomplete plans or a proposed building position that is not physically marked. Each of these can affect how the assessor gathers information.
For example, if a gate is locked and part of the vegetation edge cannot be reached safely, the assessor must not guess the missing details. Instead, the limit should be recorded. Likewise, if a plan shows one building position but the owner indicates another, that inconsistency must be clarified or noted.
Some constraints are small. Others are significant. Either way, the assessor should use the same habit. Notice the issue, think about its effect on the assessment, record it clearly and follow procedure if extra guidance is needed.
This careful approach improves both safety and quality. In addition, it helps maintain confidence in the final assessment pathway.
Access limits
Locked areas, poor terrain, unstable ground or physical hazards may affect where the assessor can go.
Information gaps
Missing plans, uncertain boundaries or unclear proposed building positions can reduce certainty.
Environmental limits
Weather, dense vegetation or other site conditions may reduce visibility or measurement quality.
Organisational procedures keep the work consistent
Clear procedures help different assessors work in a similar way. Therefore, they matter at every site.
Organisational procedures guide how site information is gathered, recorded and reported. They also help the assessor decide what to do when information is missing, when a site is difficult to access or when an unusual issue appears during the assessment.
Without procedure, different assessors may record the same site in different ways. That can create inconsistency. By contrast, a consistent process makes the assessment easier to review and easier to explain.
Procedures also support safe work. If a site condition becomes unsafe, or if access is restricted, the assessor should follow the approved process rather than making a personal workaround. This is especially important when time pressure is present.
For training purposes, the key lesson is simple. The assessor should not treat procedure as paperwork only. Instead, procedure is part of the assessment method itself.
Clear records make later BAL decisions stronger
The site information stage ends with recording. Therefore, the records should be simple, accurate and usable.
Clear records are one of the strongest habits an assessor can build. When the site location is confirmed, the relevant fire danger input is identified and the site constraints are noted, the information should be recorded in a way that supports the later assessment steps.
This means the notes should be clear enough for another person to follow. They should show what site was assessed, what key inputs were used and what limits affected the work. In addition, the records should fit the organisational format required for the task.
Good records are especially helpful when the assessment is reviewed later. They help explain why the assessor proceeded in a certain way. They also reduce confusion when the final BAL decision is documented in Part 5 and reported in Part 6.
Simple, clear and accurate is better than long and vague. Therefore, the learner should avoid cluttered notes and focus on what matters.
Record quality checklist
- Does the record clearly identify the site?
- Is the relevant fire danger input shown clearly?
- Are site constraints and limitations noted?
- Could another reviewer understand the notes later?
Using the BAL READY Cycle in this part
The learning cycle helps tie this lesson together and keep the assessment process easy to follow.
Part 3 fits neatly into the BAL READY Cycle. First, the learner keeps the bushfire context in mind. Next, the learner checks the applicable standards and procedures. Then, the learner confirms the site location and considers the required fire danger input. After that, the learner notes the constraints and records the information clearly.
In this part, the most important steps are location, assessment inputs and record quality. These steps prepare the learner for Part 4, where vegetation, distance and slope will be examined in more detail.
Be sure the correct site and proposed building position are being assessed.
Identify the relevant Fire Danger Index or wind speed input under procedure.
Note any site constraints, missing information or access problems clearly.
Write records that support later vegetation, slope and BAL steps.
Practical scenario drill
Use this short scenario to apply Part 3 thinking before moving on.
Scenario
You arrive at a proposed building site. The owner points to the general area, but the exact building position is not marked. A locked gate prevents easy access to one boundary. You also have the relevant fire danger information for the assessment method.
Question: What is the best next step?
Common mistakes and better habits
These habits improve both assessment quality and readability of the final record.
Common mistake
Starting detailed measurement before the site and proposed building position are clearly confirmed.
Better habit
Confirm the site first, then record the key assessment inputs, then continue in order.
Common mistake
Ignoring access limits or other constraints because they seem minor.
Better habit
Record every relevant constraint clearly so later assessment steps remain transparent.
Common mistake
Writing vague notes such as “site looked fine” or “weather seemed risky”.
Better habit
Use clear, specific and procedural language that another assessor can understand later.
Knowledge check
Answer these quick questions before moving to Part 4.
60-second refresher drill
Use this drill as a quick recap for Part 3.
- State why site identification must come before later assessment steps.
- Name the fire danger inputs referred to in this part.
- Give two examples of site constraints or limitations.
- Explain why organisational procedures matter when recording site information.
- Describe what makes a site record clear and useful.
FireRescue Training Hub
Access practical fire and emergency study support resources, downloads, checklists, audio guides, and member-only course content.
- Course library
- PDF downloads
- Audio guides
- Checklists
Study support only. Not accredited training or a replacement for workplace procedures.
About the author and safety review
Ken Walker
Former Station Officer and fire service educator
Former career firefighter with extensive career and volunteer fire service experience.
Qualifications: Associate Diploma of Applied Science in Fire Technology; Institute of Fire Engineers studies.
Author profilehttps://www.firerescue.com.au/about-us/