Gather Reliable Field Weather Observations
Readings, locations, instruments and topographical influences for field personnel.
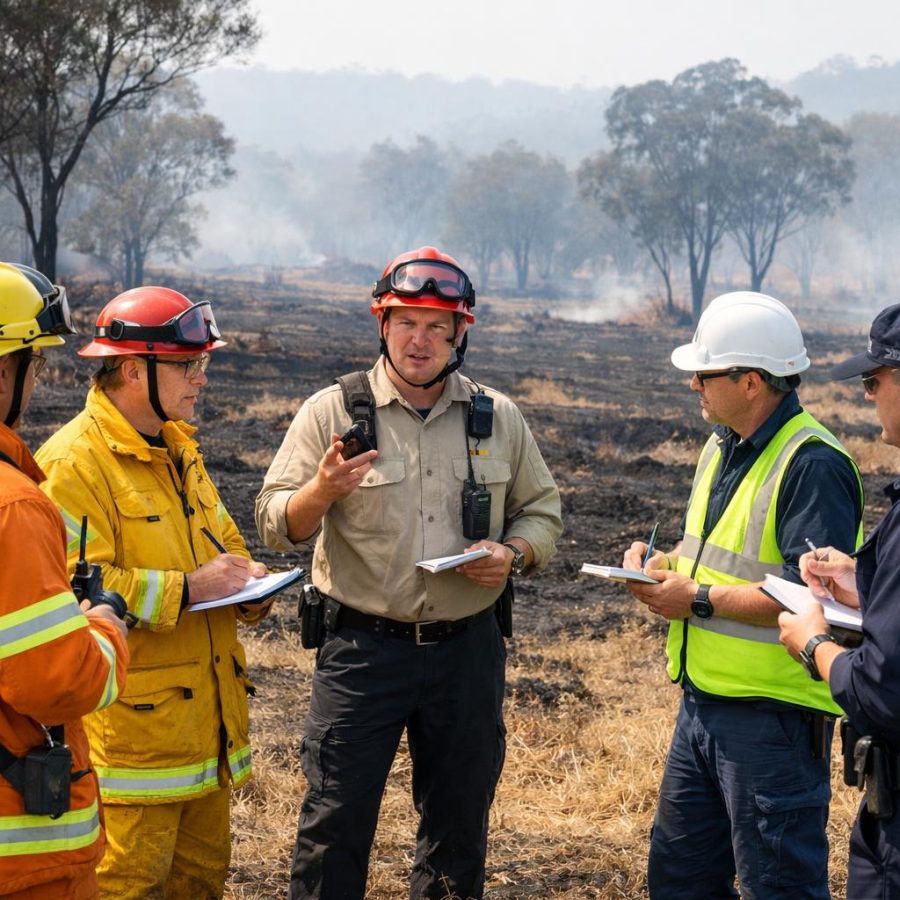
Field weather observations need care, consistency and context. In Part 2, the focus moves from preparation into collection. We look at key readings, suitable observation locations, handheld instruments, basic visual weather observations and the influence of local terrain. This is where the FIELD WEATHER Cycle becomes practical in the field.
By the end of Part 2, you should be able to:
Recognise the main local weather observations expected in the course.
Understand why representative observations in two locations matter.
Include cloud amount, cloud type and other basic visual observations.
Consider altitude, slope, aspect and vegetation when assessing local conditions.
Mark each section as refreshed
Field weather observations need to be reliable
The official course expects personnel to gather reliable field-based weather observations using suitable methods and handheld instruments.
Reliable observations matter because they give relevant personnel clearer information about local conditions. Therefore, the observation process should be calm, deliberate and linked to the task.
Part 1 covered preparation. Part 2 now moves into collection. The observer needs to take readings, note visible conditions and consider the local setting. Each step supports the next.
The course does not ask field personnel to produce advanced forecasts. Instead, it asks them to gather simple, useful weather observations. These observations later support basic interpretation, trend recognition and reporting.
Good field practice starts with consistency. Use the correct equipment. Choose suitable locations. Note the required readings. Also, keep time and place in mind from the beginning.
The FIELD WEATHER Cycle in Part 2
Part 2 concentrates on the next two stages: establish representative readings and link local topography to weather effects.
Establish representative field readings
Collect the required readings in suitable locations. Use instruments correctly and include visual observations where required.
Link local topography to weather effects
Recognise that altitude, slope, aspect and vegetation may influence local conditions and should be considered during observations.
Readings plus setting
A weather reading is more useful when the observer also understands where it was taken and what local features may affect it.
Know the key observations to collect
The performance evidence identifies the main observations that personnel may need to take and record during the field task.
The course identifies a clear group of basic weather observations. These readings provide a practical snapshot of local field conditions. They are simple in purpose, but they should still be gathered with care.
Air temperature
Record the local air temperature as part of the observation set.
Relative humidity
Record relative humidity when required through the approved field process.
Wind direction
Identify the direction of the wind as observed in the field.
Wind speed and gusts
Note wind speed and gust behaviour where the task requires it.
Cloud amount and type
Make basic visual observations about cloud cover and cloud form.
Time and location
Keep the observation linked to where and when it was taken.
Why these readings matter
These observations create the base for later interpretation. In Part 3, trends and likely changes will be considered. However, trend assessment is only as useful as the observations behind it.
That is why Part 2 focuses on collection quality. First gather the information clearly. Then, later, assess what it may show.
Use handheld weather instruments with purpose
The course specifically requires weather observations to be collected using handheld weather instruments.
Handheld weather instruments support the field observer. They help convert local conditions into usable readings. However, the instrument is only one part of the task.
The observer still needs to understand the requested observation, follow organisational instructions and use the equipment in a way that supports a reliable result. In addition, the observer should stay aware of the surrounding conditions and the suitability of the observation location.
The course knowledge requirements include a handheld weather meter and a sling or whirling psychrometer. These instruments form part of the broader field weather observation skill set.
Before collecting readings, personnel should confirm that the instrument is the correct one for the task. They should also understand the organisation’s method for using it, handling it and recording the result.
Handheld weather meter
A portable tool used to support field-based weather observations.
Sling or whirling psychrometer
An identified weather instrument within the official knowledge evidence.
Use the instrument within procedure
Follow the organisation’s method for equipment use, field handling and recording.
Trusting the number without context
A reading gains value when the observer also considers the location, surrounding features and the observation task.
Take representative observations in two locations
The assessment evidence specifically expects representative weather observations in two different locations.
Observations can vary across a local area. Therefore, the course expects personnel to take representative observations in two different locations. This supports a better understanding of local conditions.
Two locations allow the observer to compare what is being seen and measured. For example, the field setting may differ because of slope, vegetation or local exposure. The task is not to overcomplicate the result. Instead, it is to notice that place matters.
Each location should be selected according to the task, access, safety and organisational guidance. Personnel should avoid treating one convenient reading as if it speaks for the whole area.
Observation point one
Collect the required readings and note the immediate surroundings.
Look for useful differences
Notice whether the readings or visible conditions appear similar or different.
Observation point two
Repeat the observation process in a second representative field setting.
One site may not tell the full story
Taking observations in two different locations supports a more representative field picture.
Include basic visual weather observations
The course requires both instrument-based weather observations and basic visual observations.
Not every useful observation begins with a screen or dial. Visual weather observations also matter. They help the observer describe what is present in the local area at that time.
The official course includes cloud amount and cloud type among the observations to be taken. It also includes weather signs more broadly, which will be explored in Part 3.
In Part 2, the focus remains on collection. Look carefully. Record clearly. Avoid vague wording where a more precise observation can be made through the approved process.
For example, if cloud observations are part of the task, note them in the expected format. If the location or time is relevant, keep those details linked to the observation.
Cloud amount
Observe the extent of cloud present where required.
Cloud type
Identify the cloud type at the practical level expected by the task.
Local signs
Notice visible signs that may later support interpretation and trend assessment.
Link topography to local weather conditions
The course requires personnel to identify and assess local topographical influences that are most likely to affect weather conditions.
Topography matters because field observations are taken in real places, not in neutral spaces. The official course names altitude, slope, aspect and vegetation as topographical influences that personnel should recognise.
This does not require advanced meteorological analysis. Instead, the observer should notice that local terrain and surrounding features may influence the conditions being observed. As a result, the location of the reading matters.
For example, a reading taken in one part of the landscape may not look exactly like a reading taken in another. The observer should consider the setting, record clearly and avoid ignoring obvious local influences.
Recognise that height within the landscape can be relevant to local conditions.
Consider whether slope position may influence what is being experienced or measured.
Note the direction a slope or area faces where it is relevant to the task.
Consider how local vegetation forms part of the observation setting.
L means Link the landscape
Do not separate the reading from the place. Local terrain and vegetation help explain the observation setting.
Interactive field scenario
Choose the strongest observation approach.
A field observer takes a weather reading near a sheltered area with dense vegetation. A second observation point is available nearby in a more open location. What is the best course-aligned approach?
Part 2 knowledge check
Answer each question, then check your result.
60-second refresher drill
Use this short recall drill to reinforce Part 2.
Can you recall the essentials?
- Name four weather observations covered in Part 2.
- State why two different observation locations are important.
- Name one handheld weather instrument identified in the course.
- List two topographical influences.
- Explain why readings should be linked to time and location.
Reliable readings come from method, location and awareness
Part 2 has moved the course into the field. Reliable weather observations are built from appropriate instruments, clear reading categories, suitable locations and awareness of the landscape. The observer gathers the facts first. Then, in Part 3, those facts help support trend recognition and basic interpretation.
Take the required observations carefully and consistently.
Use two suitable locations where the assessment task requires it.
Part 3 examines weather signs, trends and likely local changes.
FireRescue Training Hub
Access practical fire and emergency study support resources, downloads, checklists, audio guides, and member-only course content.
- Course library
- PDF downloads
- Audio guides
- Checklists
Study support only. Not accredited training or a replacement for workplace procedures.
About the author and safety review
Ken Walker
Former Station Officer and fire service educator
Former career firefighter with extensive career and volunteer fire service experience.
Qualifications: Associate Diploma of Applied Science in Fire Technology; Institute of Fire Engineers studies.
Author profilehttps://www.firerescue.com.au/about-us/